To make your own wedding invitations can be a wonderful and personal way to set the tone for your big day. Also, creating a custom wedding invitation can be a memorable keepsake. However, there are several factors to consider before embarking on this DIY project. Here’s what you need to know:
Preparations to Make Your Own Wedding Invitations
Wedding Invitation Budget: Determine your budget for wedding invitations. DIY invitations can be inexpensive, but you’ll still need to factor in materials like paper, ink, envelopes, and any embellishments.
Theme and Style: Decide on the theme and style of when planning your wedding. Your invitations should reflect the overall aesthetic of your wedding, whether it’s formal, casual, rustic, vintage, modern or tied to a specific color scheme. This can even be tied to the spring, summer, fall or winter season.
Timeline: Be clear about the order of events to know what stationery you need when. Start early. DIY invitations can be time-consuming, especially if you’re making a large number of them. Give yourself plenty of time to research, design, create and assemble the invitations.
Guest List: Finalize your guest list before creating invitations. You will need an accurate count to determine how many invitations to make. Remember that you generally send one invitation per household or couple, not per individual.
Wedding Invitations from Vision to Creation
Wedding invitation components: A formal wedding invitation package typically includes a variety of components. They are designed to convey important information to your guests while maintaining a sense of elegance and formality. Possible components include the announcement or save-the-date card, main invitation, ceremony program and/or reception card, reply card, inner and outer envelopes, directions card, accommodation card, additional information card, envelope liners, belly band or ribbon, seals.
Wedding Invitation Wording Etiquette: Traditionally, wedding invitations use formal language. This includes phrases like “Mr. and Mrs. John Smith request the pleasure of your company” for a formal wedding or “Together with their families” for less formal weddings. However, you can customize the language to fit the style of your wedding and your personalities.
Design and Layout: Consider the design and layout of your invitations and all the necessary wedding invitation components. You can use design software or templates available online to create a polished look. Make sure all important information is presented clearly and attractively.
Print: Decide whether you’ll print at home, use a local print shop, or use online printing services. Different options offer different levels of customization and quality. Be sure to test the print to make sure the colors and layout are how you want them.
Materials: Choose high-quality paper and envelopes. The weight, texture and color of the paper can have a significant impact on the overall look and feel of your invitations.
Colors and Fonts: Pay attention to the color scheme and fonts you use. They should match the theme of your wedding and be easy to read. Make sure the text stands out from the background and use the Coolors tool to check color contrast. Learn the advantages of using the color tool.
Proofread: Double-check all details for accuracy, including dates, times, venue addresses, and RSVP information. Enlist the help of friends or family to proofread as well.
Putting Together the Wedding Invitations to Send Out
Assembly: If your invitations have multiple components, such as RSVP cards or inserts, plan how you’ll assemble them. This may involve attaching ribbons, using glue, or simply stacking and organizing the components.
Postage: Weigh a fully assembled invitation to determine the correct postage. Square or heavy invitations may require additional postage. Be sure to include postage on any RSVP envelopes.
Addressing: Decide whether you’ll write addresses by hand or print labels. Make sure you have accurate addresses for all your guests. Consider calligraphy or professional printing services for an elegant touch.
Extras: If desired, add special touches such as ribbons, wax seals or embossing to make your invitations unique.
Mailing Schedule: Determine when you need to send your invitations to give guests time to RSVP and make travel arrangements. Aim to mail at least 6-8 weeks before the wedding date.
RSVP Management: Set up a system to track RSVPs. This could be a digital spreadsheet, a physical list, or even managing your RSVPs through your wedding website.
Backup Plan: Have a backup plan in case something goes wrong with your DIY invitations. Be prepared to reorder or make adjustments if necessary.
Environmental Considerations: If you’re environmentally conscious, consider using eco-friendly paper and printing practices.
Keep in mind that while DIY invitations can save money and allow for personalization, they can also be time-consuming and require attention to detail. Plan ahead and enjoy the process of creating something special for your big day.
An Alternative to Creating Your Own Wedding Invitations
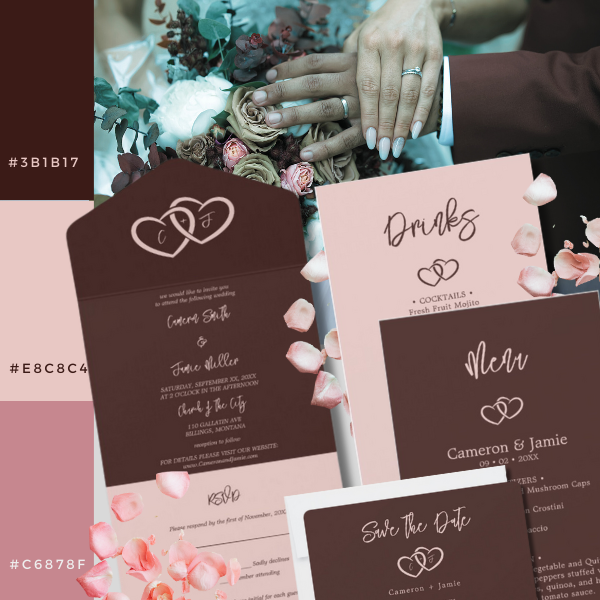
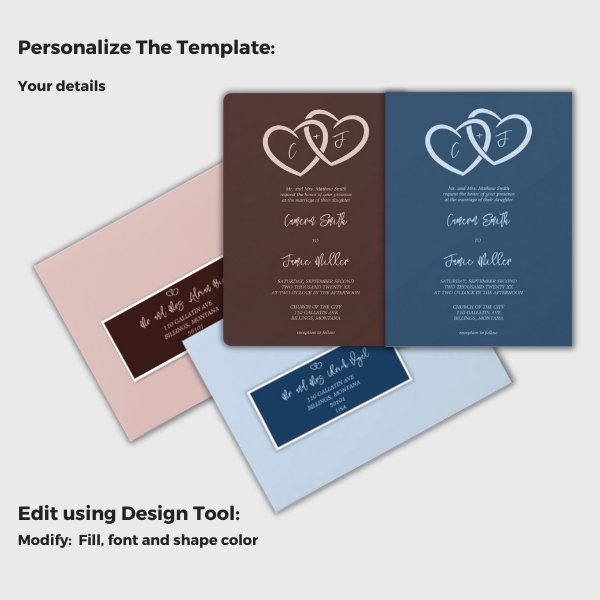
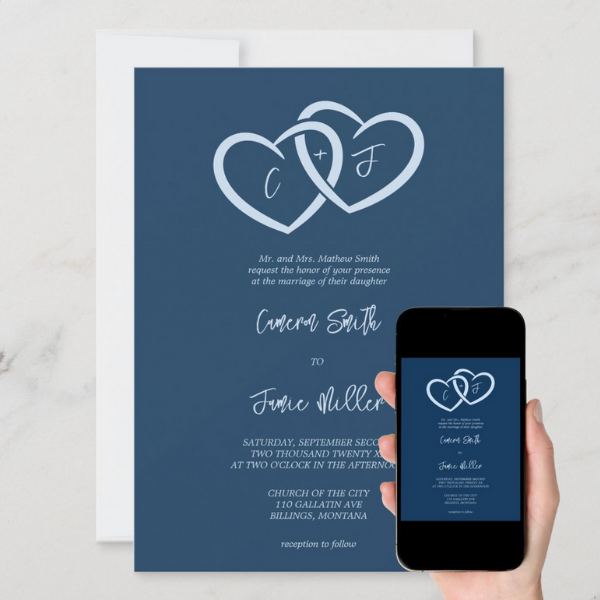
If the idea of creating your wedding invitations from scratch seems overwhelming, consider exploring the extensive collection of wedding invitation templates available on the Zazzle Marketplace. This approach offers several distinct advantages. First, you have the option of selecting an existing design as part of a comprehensive wedding collection. These collections include all the different components you might need in the styles and variations you want. Simply select a design that matches the color scheme and theme of your wedding, then enter your specific details into the template. An example on how this could look like comes in the design 2 Hearts Entwined by KBM D3signs from the store Plan to Wed.
This way, you streamline your task of selecting the right design and components, while also adhering to proper wedding invitation wording etiquette. Zazzle even offers multiple choices for paper stock, so you can customize your invitations to your liking. They also offer the option to combine physical wedding invitations with downloadable digital versions that can be sent via email or messaging platforms. This flexibility is invaluable if you plan to use the Internet through a wedding website to share updates, registry or gift information, personal introductions and heartfelt stories with your guests.
Frequently Asked Questions (FAQ) about Wedding Invitations
Hand cancelling refers to a postal practice in which a postal worker manually places a postage stamp on an envelope instead of running it through an automated cancelling machine. This is often done for certain types of mail, such as wedding invitations, to prevent damage to the contents and to ensure that the envelopes maintain their pristine appearance.
Possible components include: announcement card, main invitation, ceremony program and/or reception card, reply card, inner and outer envelopes, directions card, accommodations card, additional information card, envelope liners, belly band or ribbon, seals.
There are several advantages to choosing a wedding invitation template that is part of a larger collection. These collections include all the necessary components in your preferred styles and variations. Simply choose a design that matches the color scheme and theme of your wedding, then fill in the template with your specific details.
Wedding Stationery by KBM D3signs
-
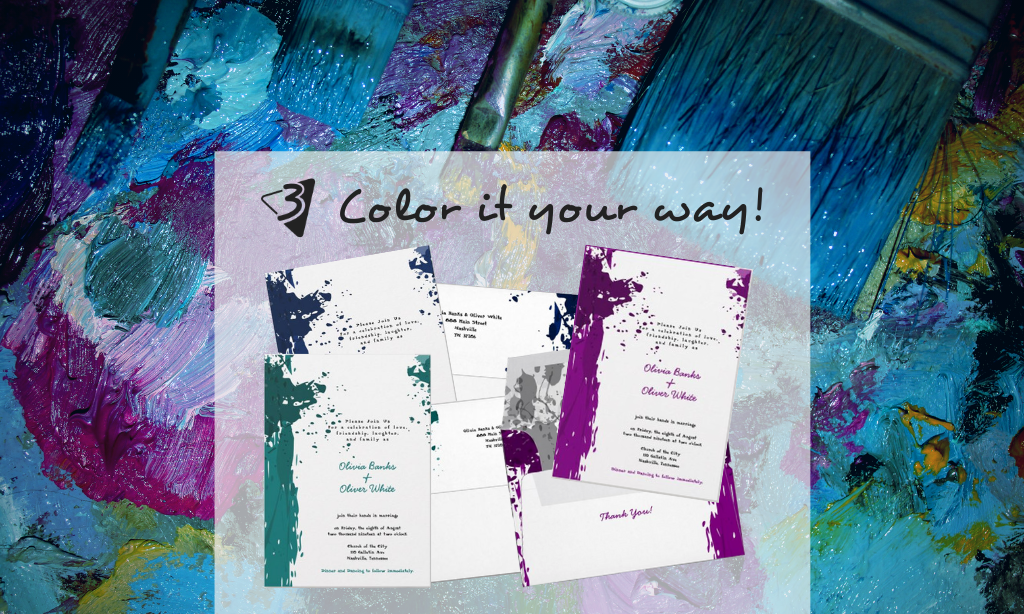
My Modern Wedding Invitations Start Forever with Bright Paint Splatter
Read the post …: My Modern Wedding Invitations Start Forever with Bright Paint Splatter -
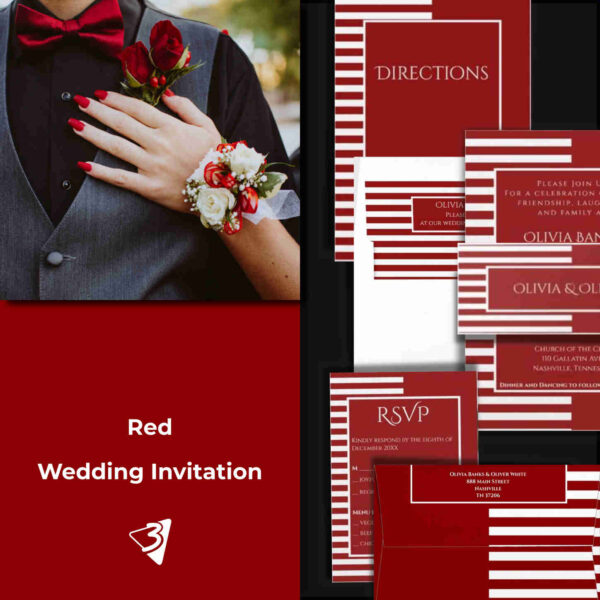
Striped Wedding Invitations
Read the post …: Striped Wedding Invitations
Visit the Plan to Wed store at Zazzle!


